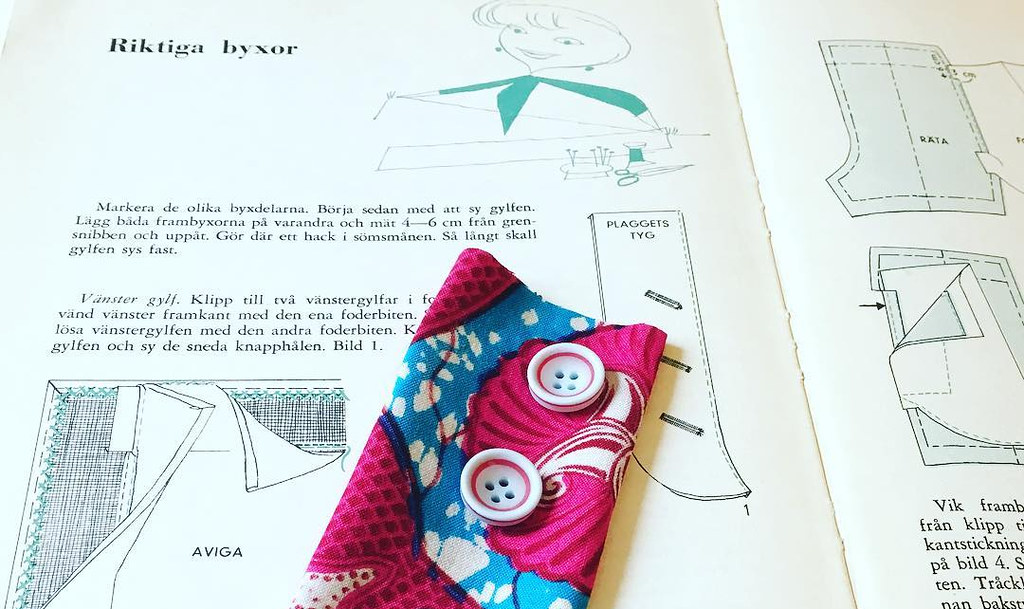
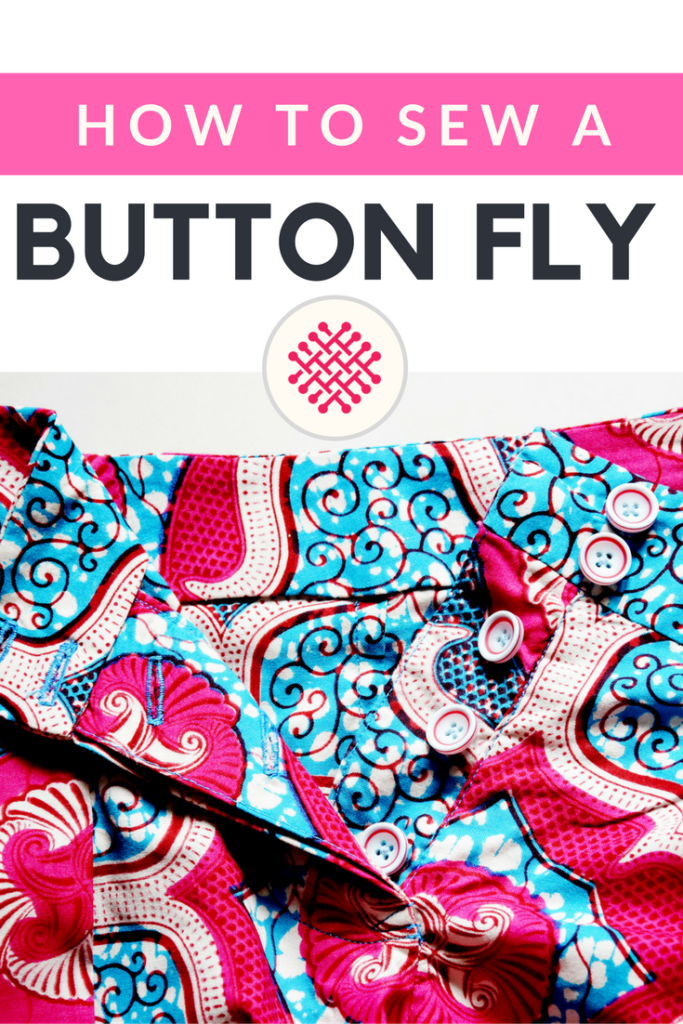
For the swing shorts I wanted to make a button fly instead of a regular zipper application and since I have a great vintage sewing book that explains this process well, I decided to try it out. And it turned out to be quite easy (albeit more time consuming compared to a regular zipper). So I thought I should share the method I employed, mixing the vintage method with some modern hacks.
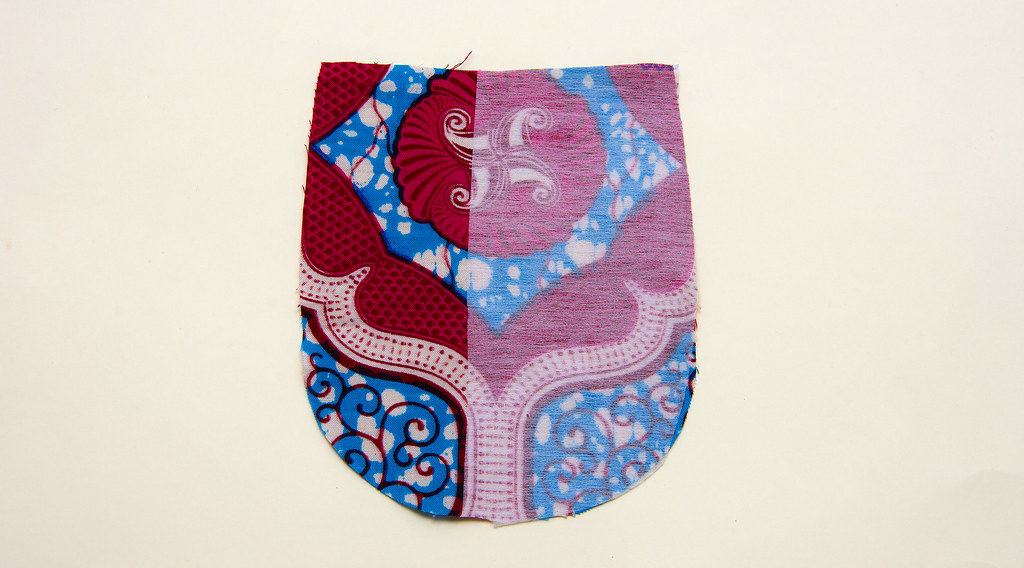
1. Cut and interface two fly shields
When making a button fly you’ll need two shields. One for the buttons and one for the button holes. The two shields should be the same size and shaped like an “U”. As for the sizing, they should be the about the same size as the fly facing that is usually included in the pattern.
2. Interface the left fly facing where you will topstitch the button fly
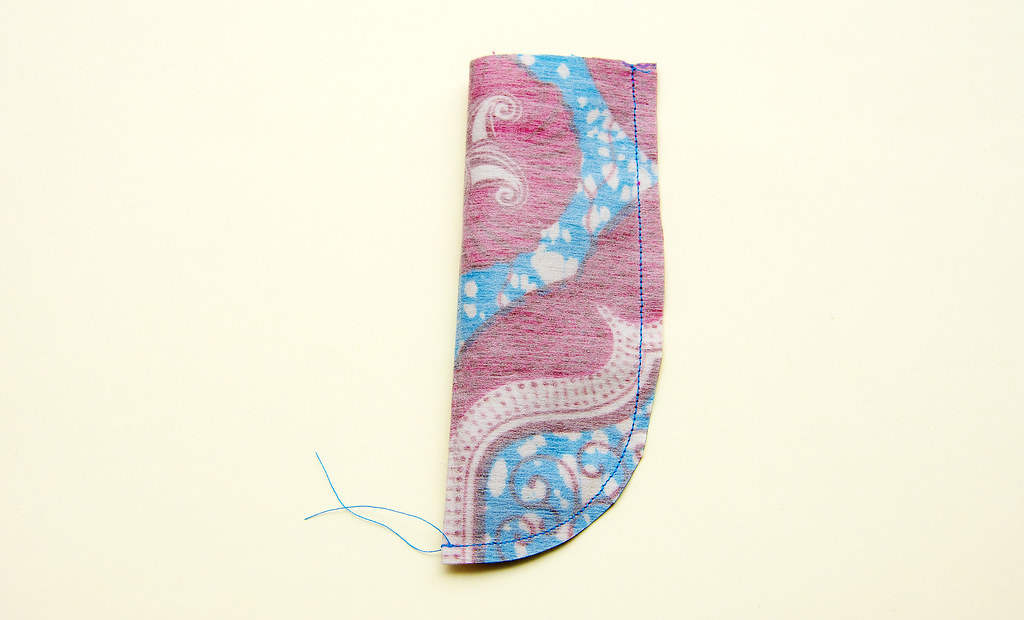

3. Fold both shields and sew the curved bottom and the sides
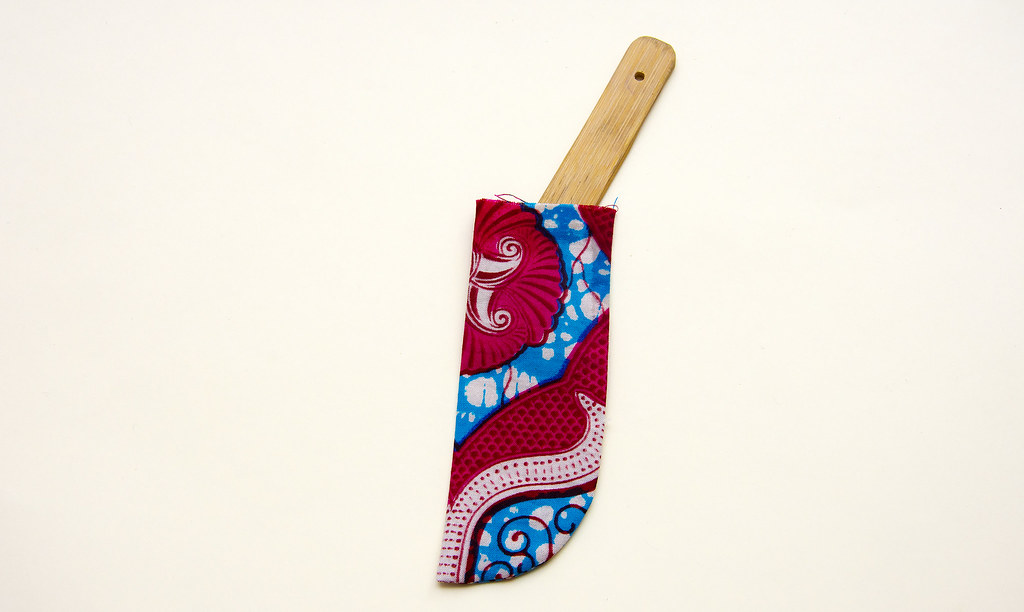
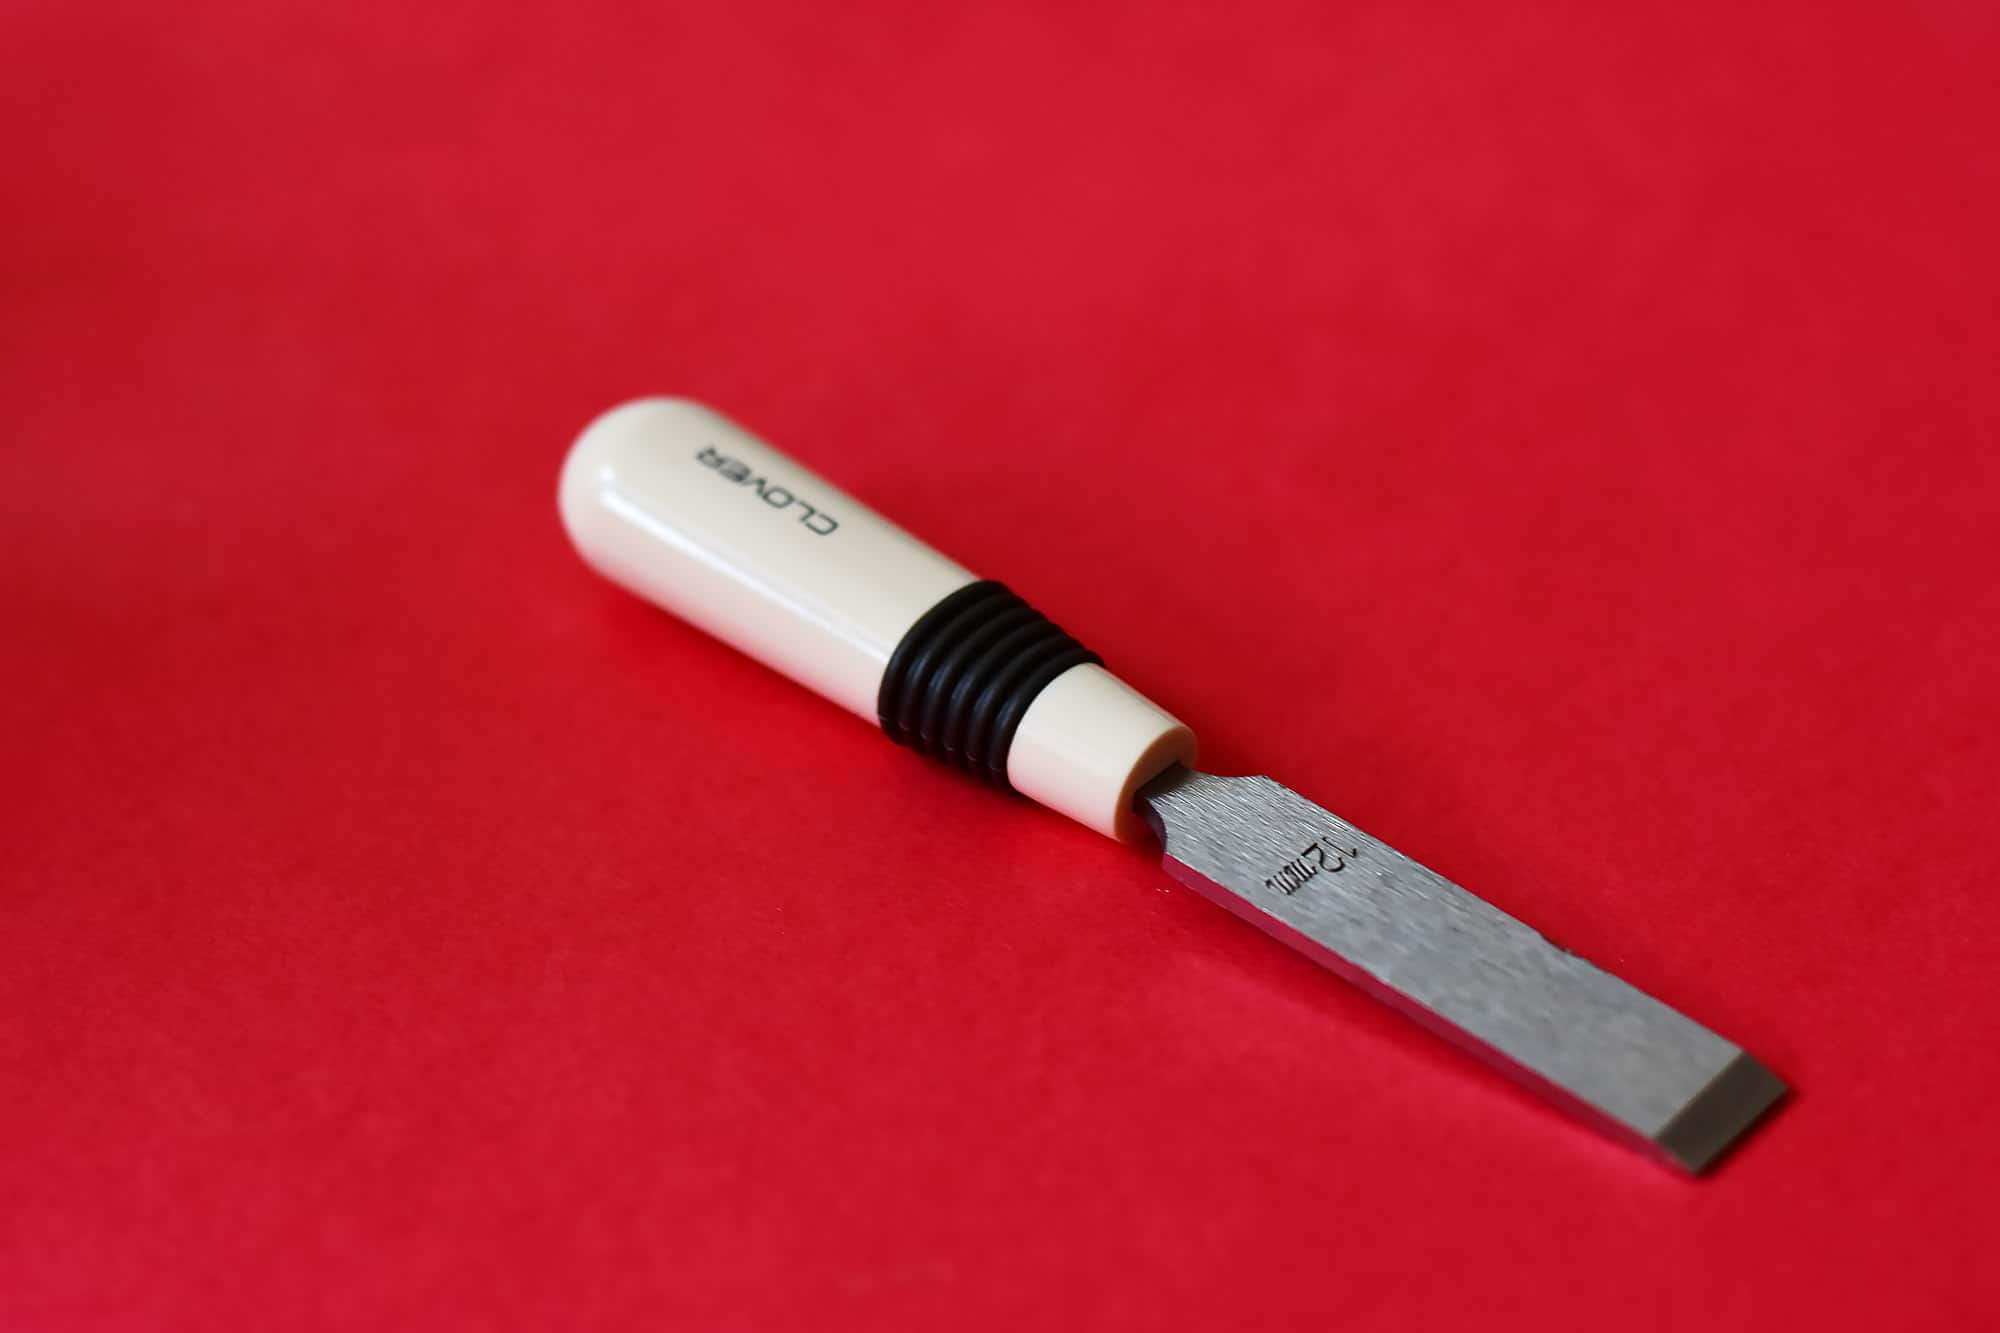
4. Turn and press
I like to use a bamboo point turner for shaping the corners.

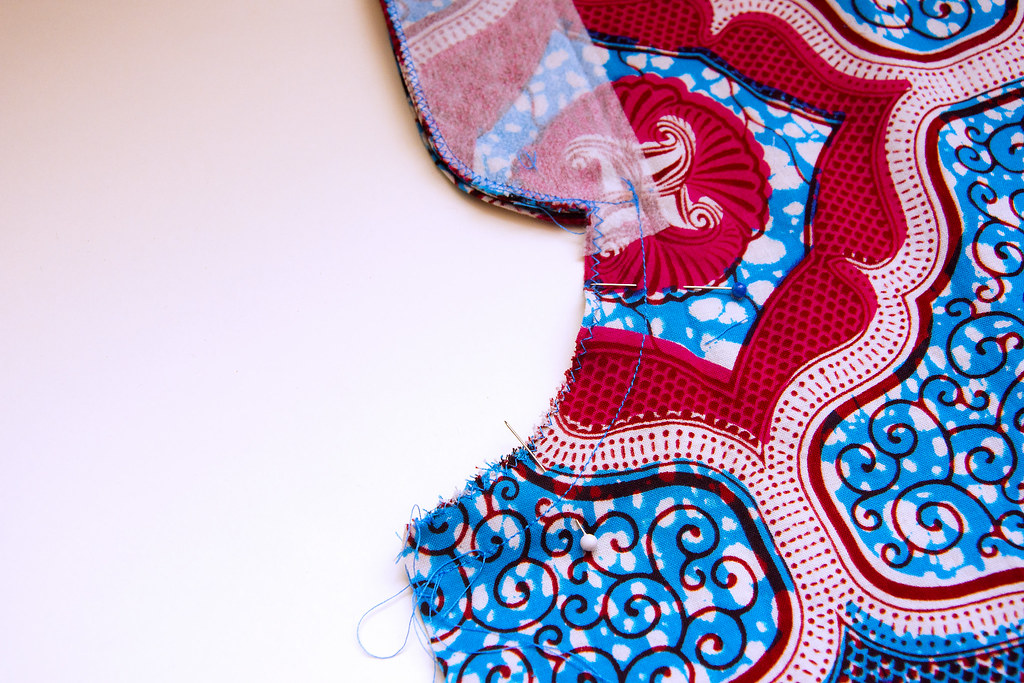
5. Sew the buttonholes on the buttonhole fly shield
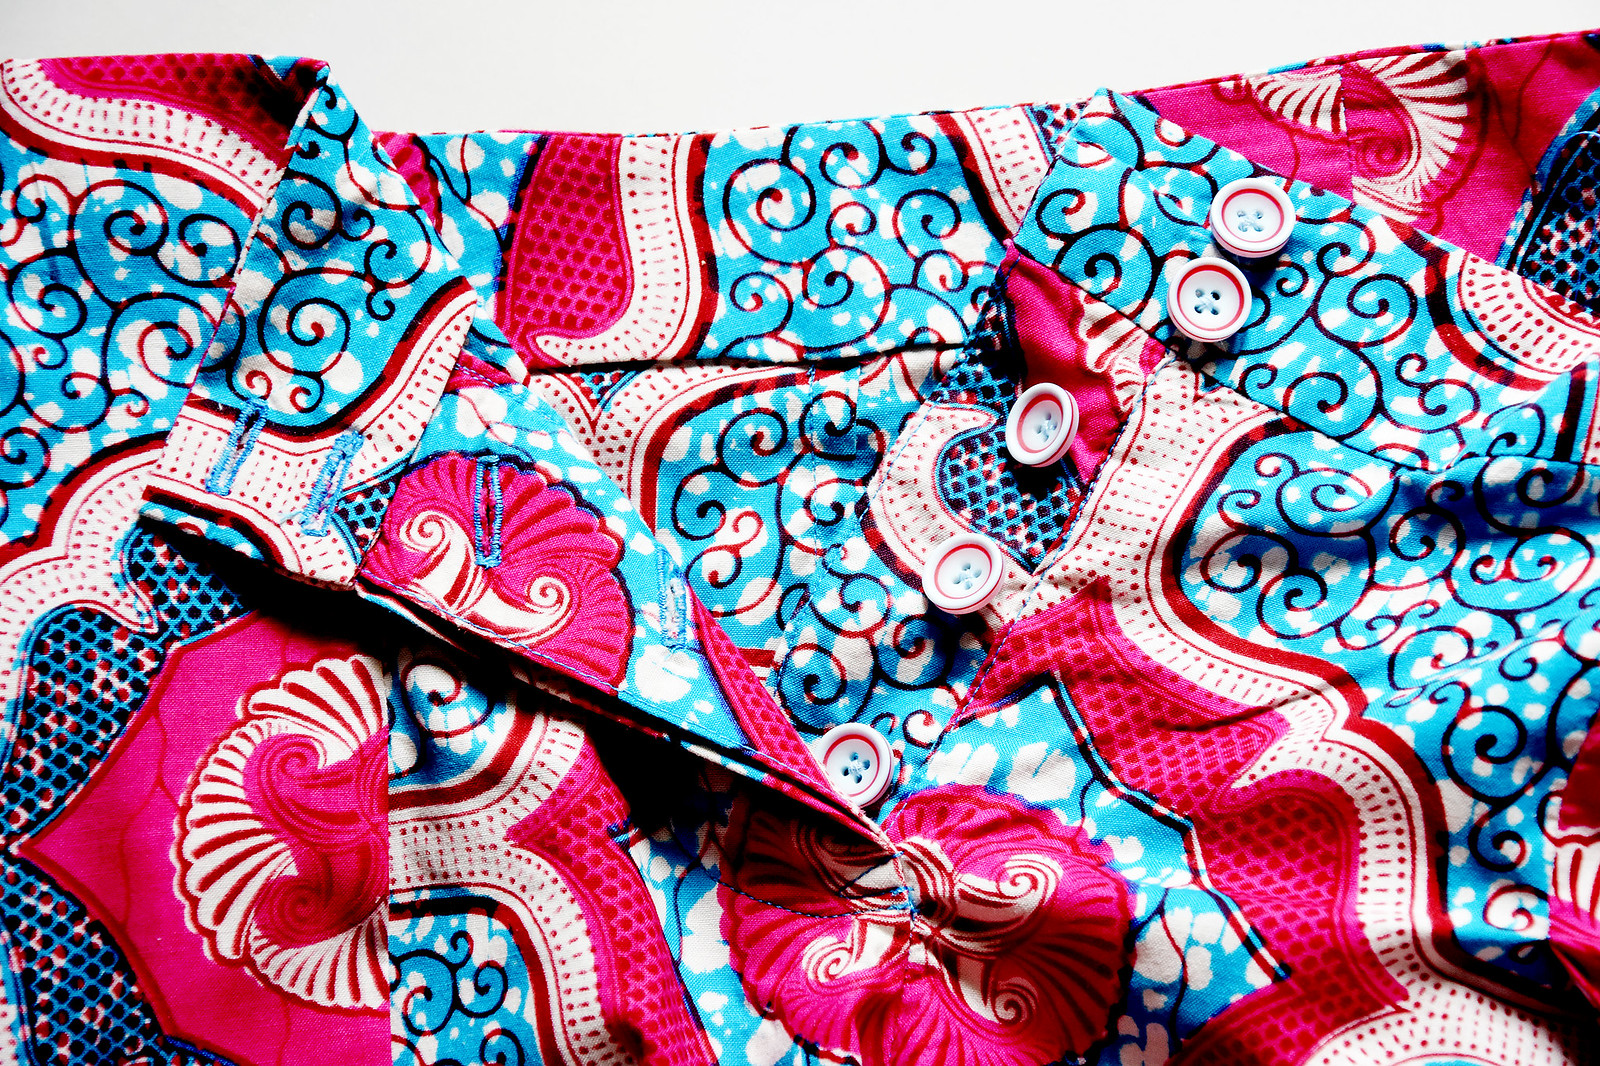
In my vintage sewing book the buttonholes are slanted which I think is a nice detail, so I replicated that.


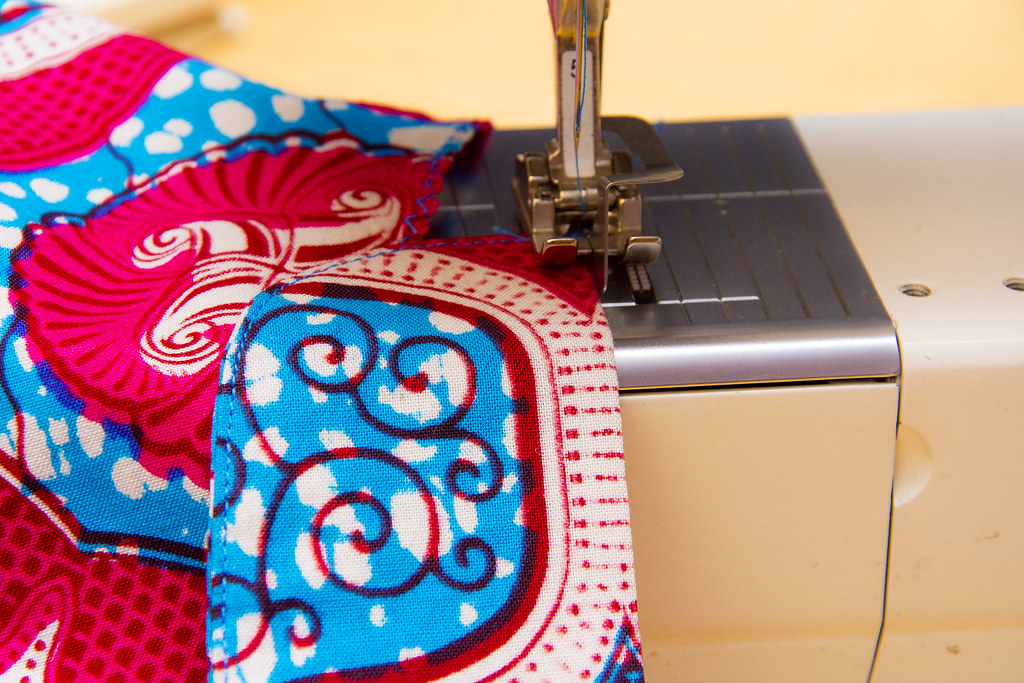
6. Topstitch the straight seam on the buttonhole fly
I recommend using a blind hem presser foot for this step as it creates an even edge seam.
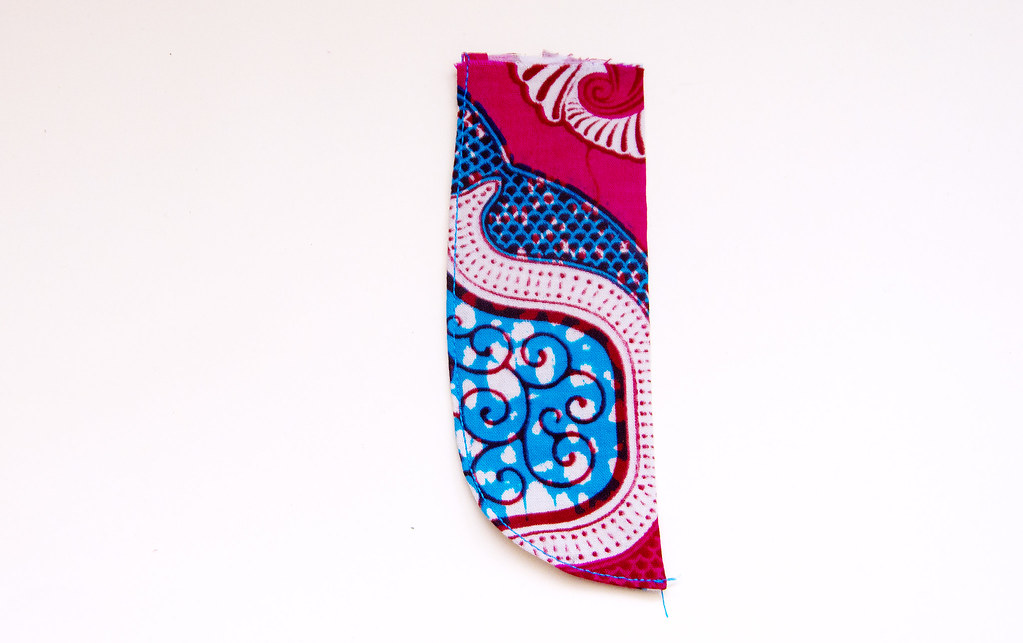
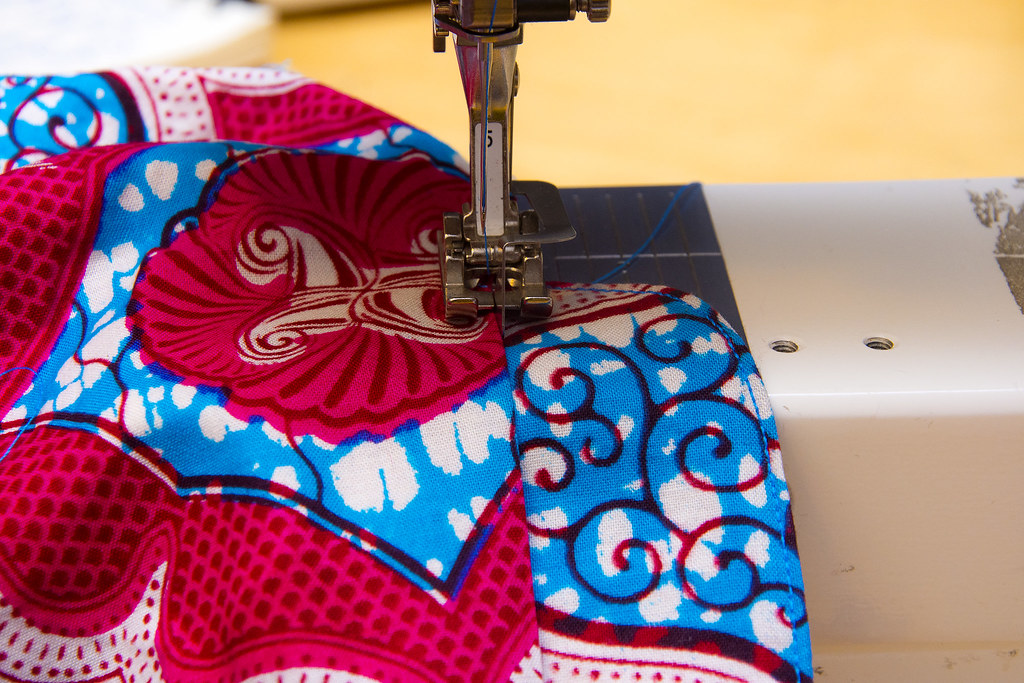
7. Now topstitch the button shield
This time you’ll edgestitch the rounded side.
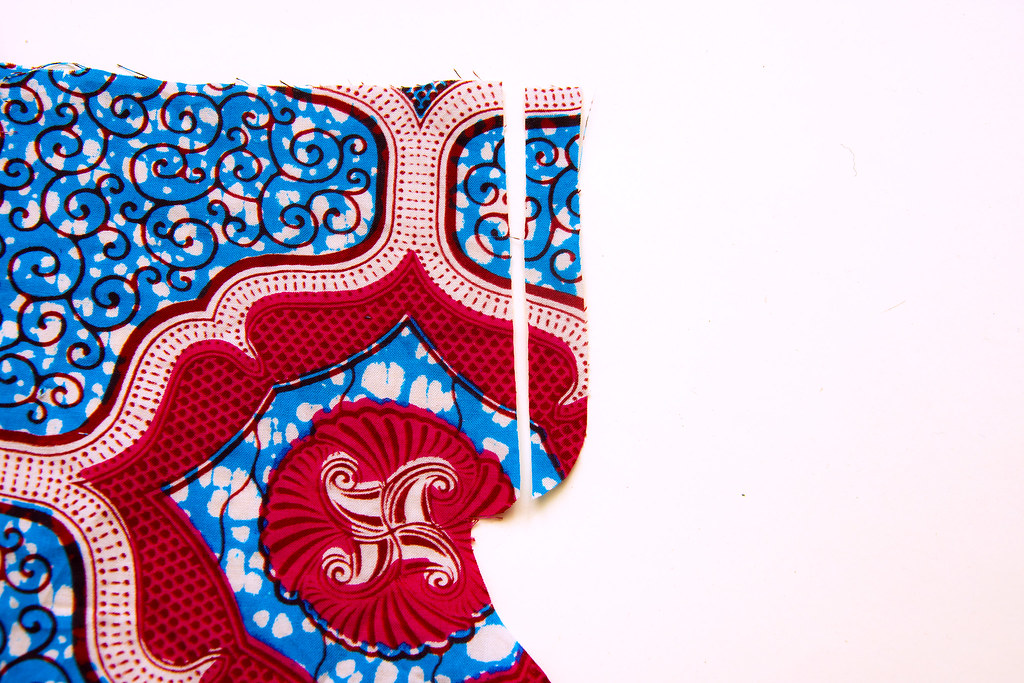
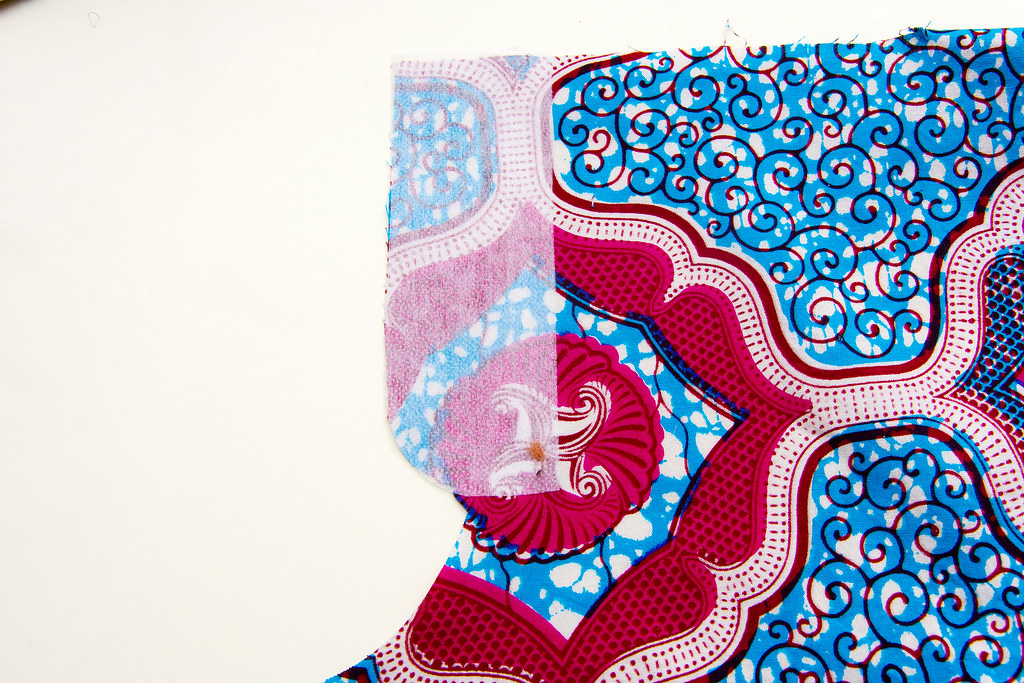
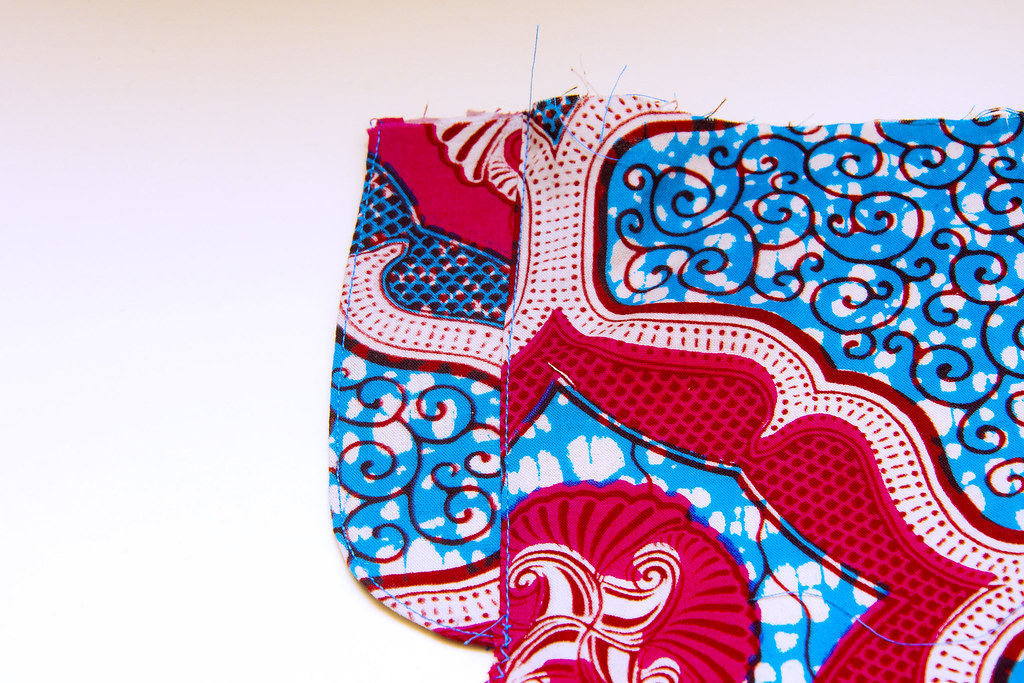
8. Trim the right side fly facing
Only 1.5 cm (ca ¾ inches) seam allowance should remain. This is where you’ll attach the button shield. This step is an deviation from the vintage method because it calls for lining the trousers and you then attach the shield to the lining. But since these shorts are unlined I’ll use the same method that I employ for my jeans zipper application.
9. Attach the button shield to the trimmed right-fly piece
10. Fold over the fly piece and edge stitch to keep it in place

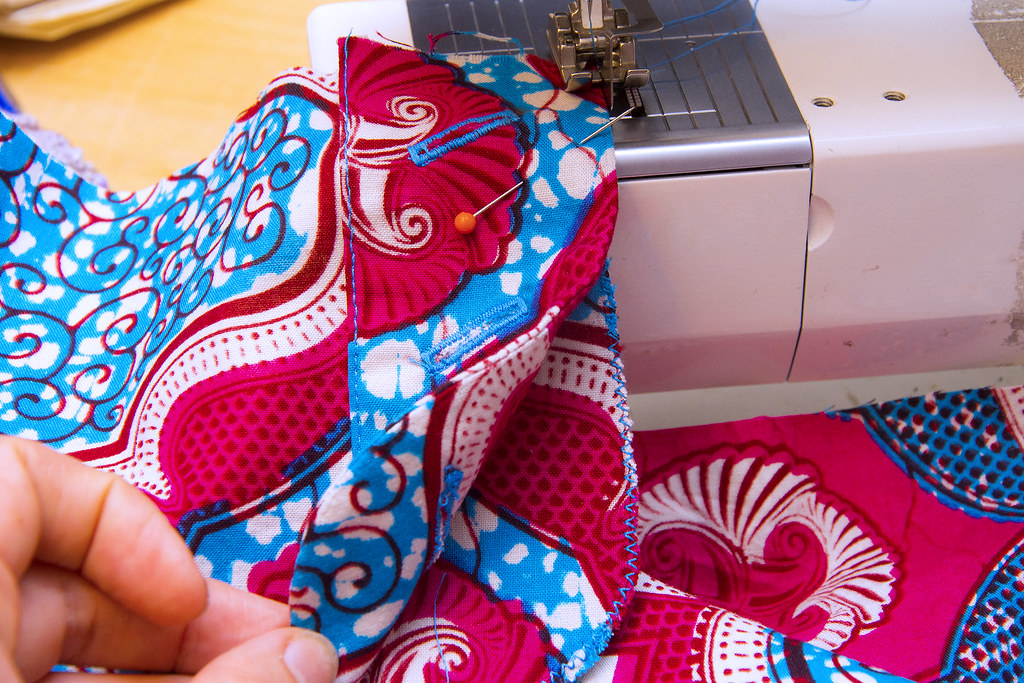
11. Attach the buttonhole fly shield
You do that on the left fly facing using an edgestitch
12. Sew the front crotch seam
Sew the crotch seam of the front pieces together finishing where your mark is. You will then sew the back crotch pieces together, the outer side seams and finish off by sewing the inner leg seam from one leg opening to the other. This is just like jeans are made and I’ve done a tutorial on how this works.

13. Finish off by topstitching the button fly
Just like you normally would. The book also suggests topstitching a little “triangle” to keep the shields in place, so I did that too. Next you’ll attach the waist band and the fastening for the waist, just like regular trousers.
Hope you found the tutorial useful. If you have inserted a trouser zipper with a fly shield before you’ll have no problem doing the button version too. The principles are pretty much the same, only difference is that you’ll need to make a second fly shield.
11 Comments
Anonymous
Your clear instructions will be very useful when I finally get around to cutting out my shorts. Love you fabric! Susan.
Johanna
Great to hear! Good luck with getting started on your shorts The fabric is from Julius Holland, a Dutch producer of African wax prints that I highly recommend.
Anya
Great instructions! Thank you, I will definitely be referring to them in the future 🙂
Johanna
Thank you too! I was actually surprised how easy it was, but it definitely took some time. But totally worth it
Mimi
Thanks for the great tutorial! The fun fabric just is pretty to look at, too. What does angling the buttonholes do? Does that ease pressure on them?
Johanna
I don’t know really, I assumed it was a fashion thing (I found it in a 50’s sewing book) but you might be right, the angle could be to ease some pressure or have some other function. Anyways I really like it and works great!
Megan
Hi, this method goes wrong with fancy shaped waist bands and can only be used without modification for a straight waistband. just a heads up on that
Johanna
Interesting, how come? I have not tried it yet on a shaped waistband but I figured it would work in a similar manner to a regular straight waistband, although these particular shorts are constructed differently. I know Closet Case Files has button fly tutorial for her jeans, and they have a shaped waist band right? So that could be an alternative if this method doesn’t work.
Kelly
This was super helpful for sewing a pair of 1830s men’s trousers. The fly closes in the opposite direction, but this was so much more clear than the original costumer’s instructions! 🙂
Johanna
Awesome to hear it was helpful! And cool that you are making a pair of 1830 pair of trousers!
Comments are closed.